
It’s week six of the One Room Challenge! Click below to get caught up on the progress!
WEEK ONE // WEEK TWO // WEEK THREE // WEEK FOUR // WEEK FIVE

It’s getting real, you guys! Little by little, things are coming together. The Tile Shop tile has been grouted…


The floors weren’t even mopped and the drywall wasn’t even complete, but I didn’t waste any time rolling out the rug from Arhaus. Lol. I get too anxious to start seeing things come to life, so I played a little pretend to show you some elements together…

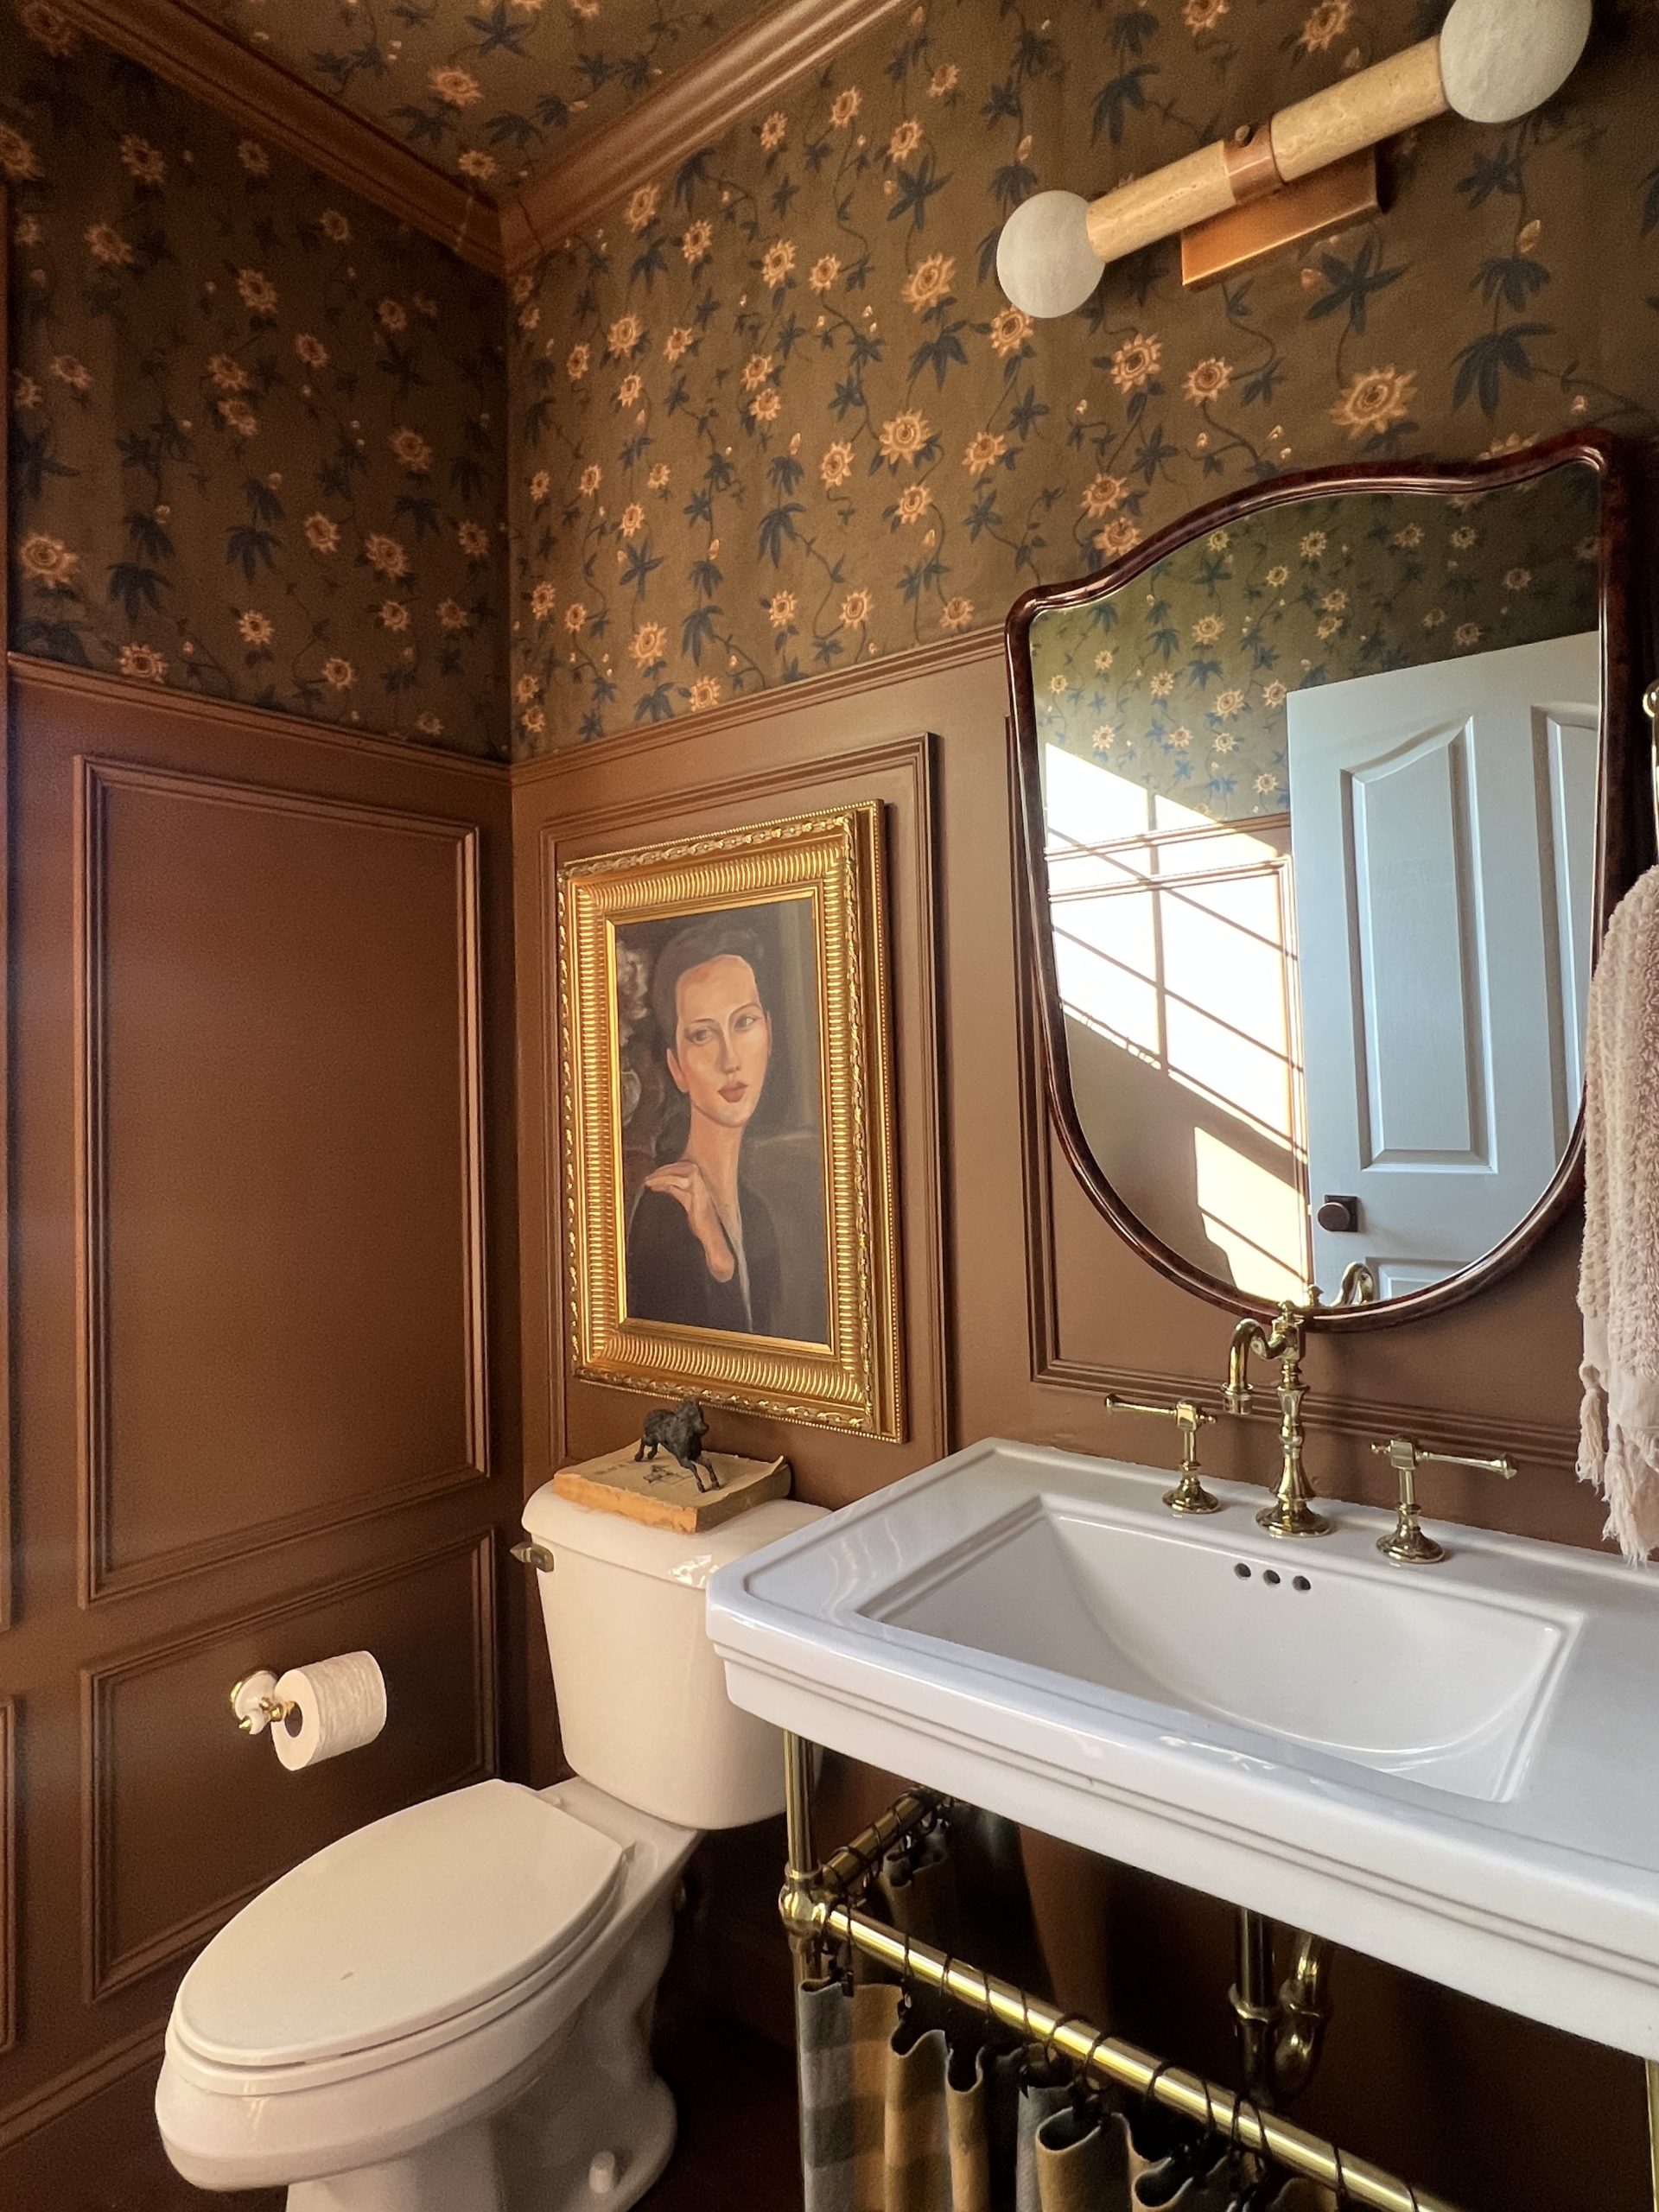
So pretty! That gorgeous wallpaper from Calico Corners is going in the water closet. It feels like a journal entry or love letter, and it’s just another “storybook” detail that I love. And speaking of storybook… I found that special piece I’ve been looking for. The piece that makes a statement with color and scale and warmth. It’s a 40×63 inch reproduction verdure tapestry from Ebay! What’s “verdure,” you ask? I honestly loved learning about tapestries as I did some digging on Ebay. As I searched “antique tapestries”, or “tree tapestries”, oftentimes some popped up with “verdure” in the title, and I loved them. So I looked it up and found that verdure directly translates to “lush green vegetation” and refers to tapestries that gained popularity in the 16th century that depicted trees and foliage. Here’s the one I chose:

I had such a hard time choosing which tapestry I wanted. Here’s others I considered…


That last one is a slightly different direction- more medieval with the “mille fleurs” design- which refers to tapestries that have a background made up of lots of tiny florals. I loved “mille fleurs” tapestries as well, as they very much remind me of William Morris’ work. He was a textile designer from the late 19th century, and his designs are currently all the rage in wallpaper trends right now. In the end, it’s all about the story for me, and the whole vibe of the tapestry I chose reminds me of a scene right out of Beauty and the Beast. That’s my favorite Disney princess movie, btw. I seriously will play that soundtrack in my car sans kids. I just love Belle and her love of books.
I have no transition from discussing Beauty and the Beast. Lol So…. the contract work slowed down a bit after the tiling since we were waiting on some key items, so I took the opportunity to paint the window! If you recall, I did this in our bedroom. It’s the most inexpensive bang for your buck when it comes to updating your windows. I love the look of black steel windows, but that upgrade isn’t happening any time soon. So, I grabbed some leftover paint from our black living room (BM Jet Black in eggshell) and a roll of Frog Tape®, and got to work transforming this old window! I’m embarrassed to show you the “before,” but just know that I had never taken the screens off until now, so it was dirty.

So, let’s get to how I went about this project…
Steps to paint a window:
- Clean your windows!


2. Lightly sand! There was definitely some areas of old paint chipping, so sanding smoothed that out.
3. Frog Tape® has always been my go-to painters tape! Remember when I won the Frog Tape® Paintover Challenge in 2018? I’ve been a loyal fan ever since:) If you want clean, crisp lines, this in the brand to use!


4. Peel away the Frog Tape® before it’s fully dry, and at a 45 degree angle.


5. As for the window panes, I removed those and spray painted those outside. Easy! (I used a Behr spray paint in a matte black) Here it is all done…

Such an easy, but effective change! I’m keeping things light and neutral on the walls, so I love bringing just a touch of black in on the windows to tie in with the black tub and black vanities. I’ve tweaked the mood board a bit to show a few more things that I’ve added/purchased/are on the way…


SO much was done in the last 24 hours that I didn’t get to add to this post! But I couldn’t resist sharing a quick photo of the pendant light from Shades of Light that’s going over our tub…

Shop this post…

Be sure to visit the following featured designers to see what they’re up to this week!
Ariene C. Bethea | At Home With Ashley | Banyan Bridges | Bari J. Ackerman | Brit ArnesenBrownstone Boys| Cass Makes Home | Dominique Gebru | Gray Space Interiors| Haneen’s HavenHome Ec. | Nile Johnson Design | Pennies for a fortune | Prepford Wife | Rachel Moriarty InteriorsSachi Lord | Susan Hill Interior Design | This Is Simplicite | Tiffany DeLangie | Victoria Lee Jones Media BH&G | TM ORC
Thank you to the following sponsors…
- Build With Ferguson
- The Tile Shop
- Calico Corners
- Ebay
- Varaluz
- Hudson Valley Lighting
- Shades of Light
- Arhaus
- Axor
- Novo Building Products
- Emtek
- Buster & Punch
- Frog Tape®
Cheers,
Haneen


I love everything about this! This is so my style and I love all the details you have chosen and how it is all coming together. Just exquisite!!! Can’t wait to see the finished room.
Thank you so much, Robin! Means a lot!
Looking so lux, I love the black window trim it adds such depth and really plays off your other black accents.
Thank you so much, Maggie!
The most unique main bathroom makeover I’ve ever seen! I love it! Kinda bummed you didn’t find a suitable old ashtray at your parents’ house.
Lol!! Agreed!
I absolutely positively think this is the most gorgeous bathroom ever! My favorite things since design school have been toile, marble, tapestries and black and white tile. I think that comes from all the art history classes I took back in the day. Still have all my textbooks. Can’t wait to see your design completed. And you had me at tapestry…😊
This comment made my day! I have an art degree, and so much of my style comes from the art history courses I took and the museum that was in the city I grew up in. Thank you for your excitement!
Awesome post! Love the way it turned out. Thank you for posting!