Welcome to another spring home tour! I’m SO excited to show you what I whipped up over the weekend! If you’re coming from my beautiful friend Jennifer’s blog Decor Gold Designs, welcome! She has such exquisite taste and her blog is filled with beautiful photos! I hope if you’re new here, my bold, colorful style inspires you a bit!
When I think of spring, I think of GREEN. Everything starts coming back to life. The vibrancy of the grass returns, the leaves on the trees start to bloom, and there’s just something in the air that makes me feel like I can take a deeper breath and relax my shoulders. Sounds dramatic, but I’m not a fan of being cold. So when I think of green, even though it’s a cool color on the color wheel, it actually makes me think of the warmth of the season ahead, and I was excited to incorporate shades of it into this project.
So, this was my entry BEFORE…

And here it is AFTER…


If you’re wondering my inspiration for this, asymmetry is everywhere these days! Here are some images I’ve been drawn to on Pinterest…

Image from: http://buildme.co.nz/articles/autumn-colour-trends/

Image from: House Beautiful

Wall by Karwei, via Apartment Therapy

Image from Kurilov via Apartment Therapy
The wood installations are absolutely stunning, but for this small corner, paint was the way to go. I basically haphazardly taped off lines, stepped back a few times and rearranged until I liked the composition of all the angles. Initially I thought three different shades of green would be sufficient, but I had to make sure two of the same greens weren’t butted up next to each, so an extra one was needed in some areas. These are the greens I used… (Thank you to Sherwin Williams for providing the paint!)
Shamrock SW 6454 (this one was very similar to the green on my buffet in an adjacent room)
Inverness SW 6433
Luau Green SW 6712
Retro Avacado (This is a Behr color that I had SW color match. It’s the color of my laundry room ceiling and it’s my favorite funky green)

After taping off the lines, I got a long straight edge and removed the tape one line at a time, drawing a line of chalk with the straight edge as I went. I couldn’t leave the tape up and paint inside the shapes, because that would’ve left space in between each shape which I didn’t want. That meant taping off the shapes and painting them individually, waiting for dry time in between each layer of color… (pardon the iphone quality, as I wasn’t busting out the nice camera with paint on my hands)


Could you get behind something like this in your own home? I have a friend who teases me for being a bit impractical, and when I texted him this image, he said, “So what’s inside the suitcases?” I know it’s a bit “out there,” but my philosophy is, it’s just paint! And such a small little corner! So easy to change down the road! And to answer his question, there’s nothing inside the suitcases! Lol! I just love them! Why does one need to feel an obligation to use the obvious console table? This is just a friendly reminder that you own the square footage of your home, and you can fill each inch as you please! I, for one, get a kick out of finding new places for my vintage green book collection:)
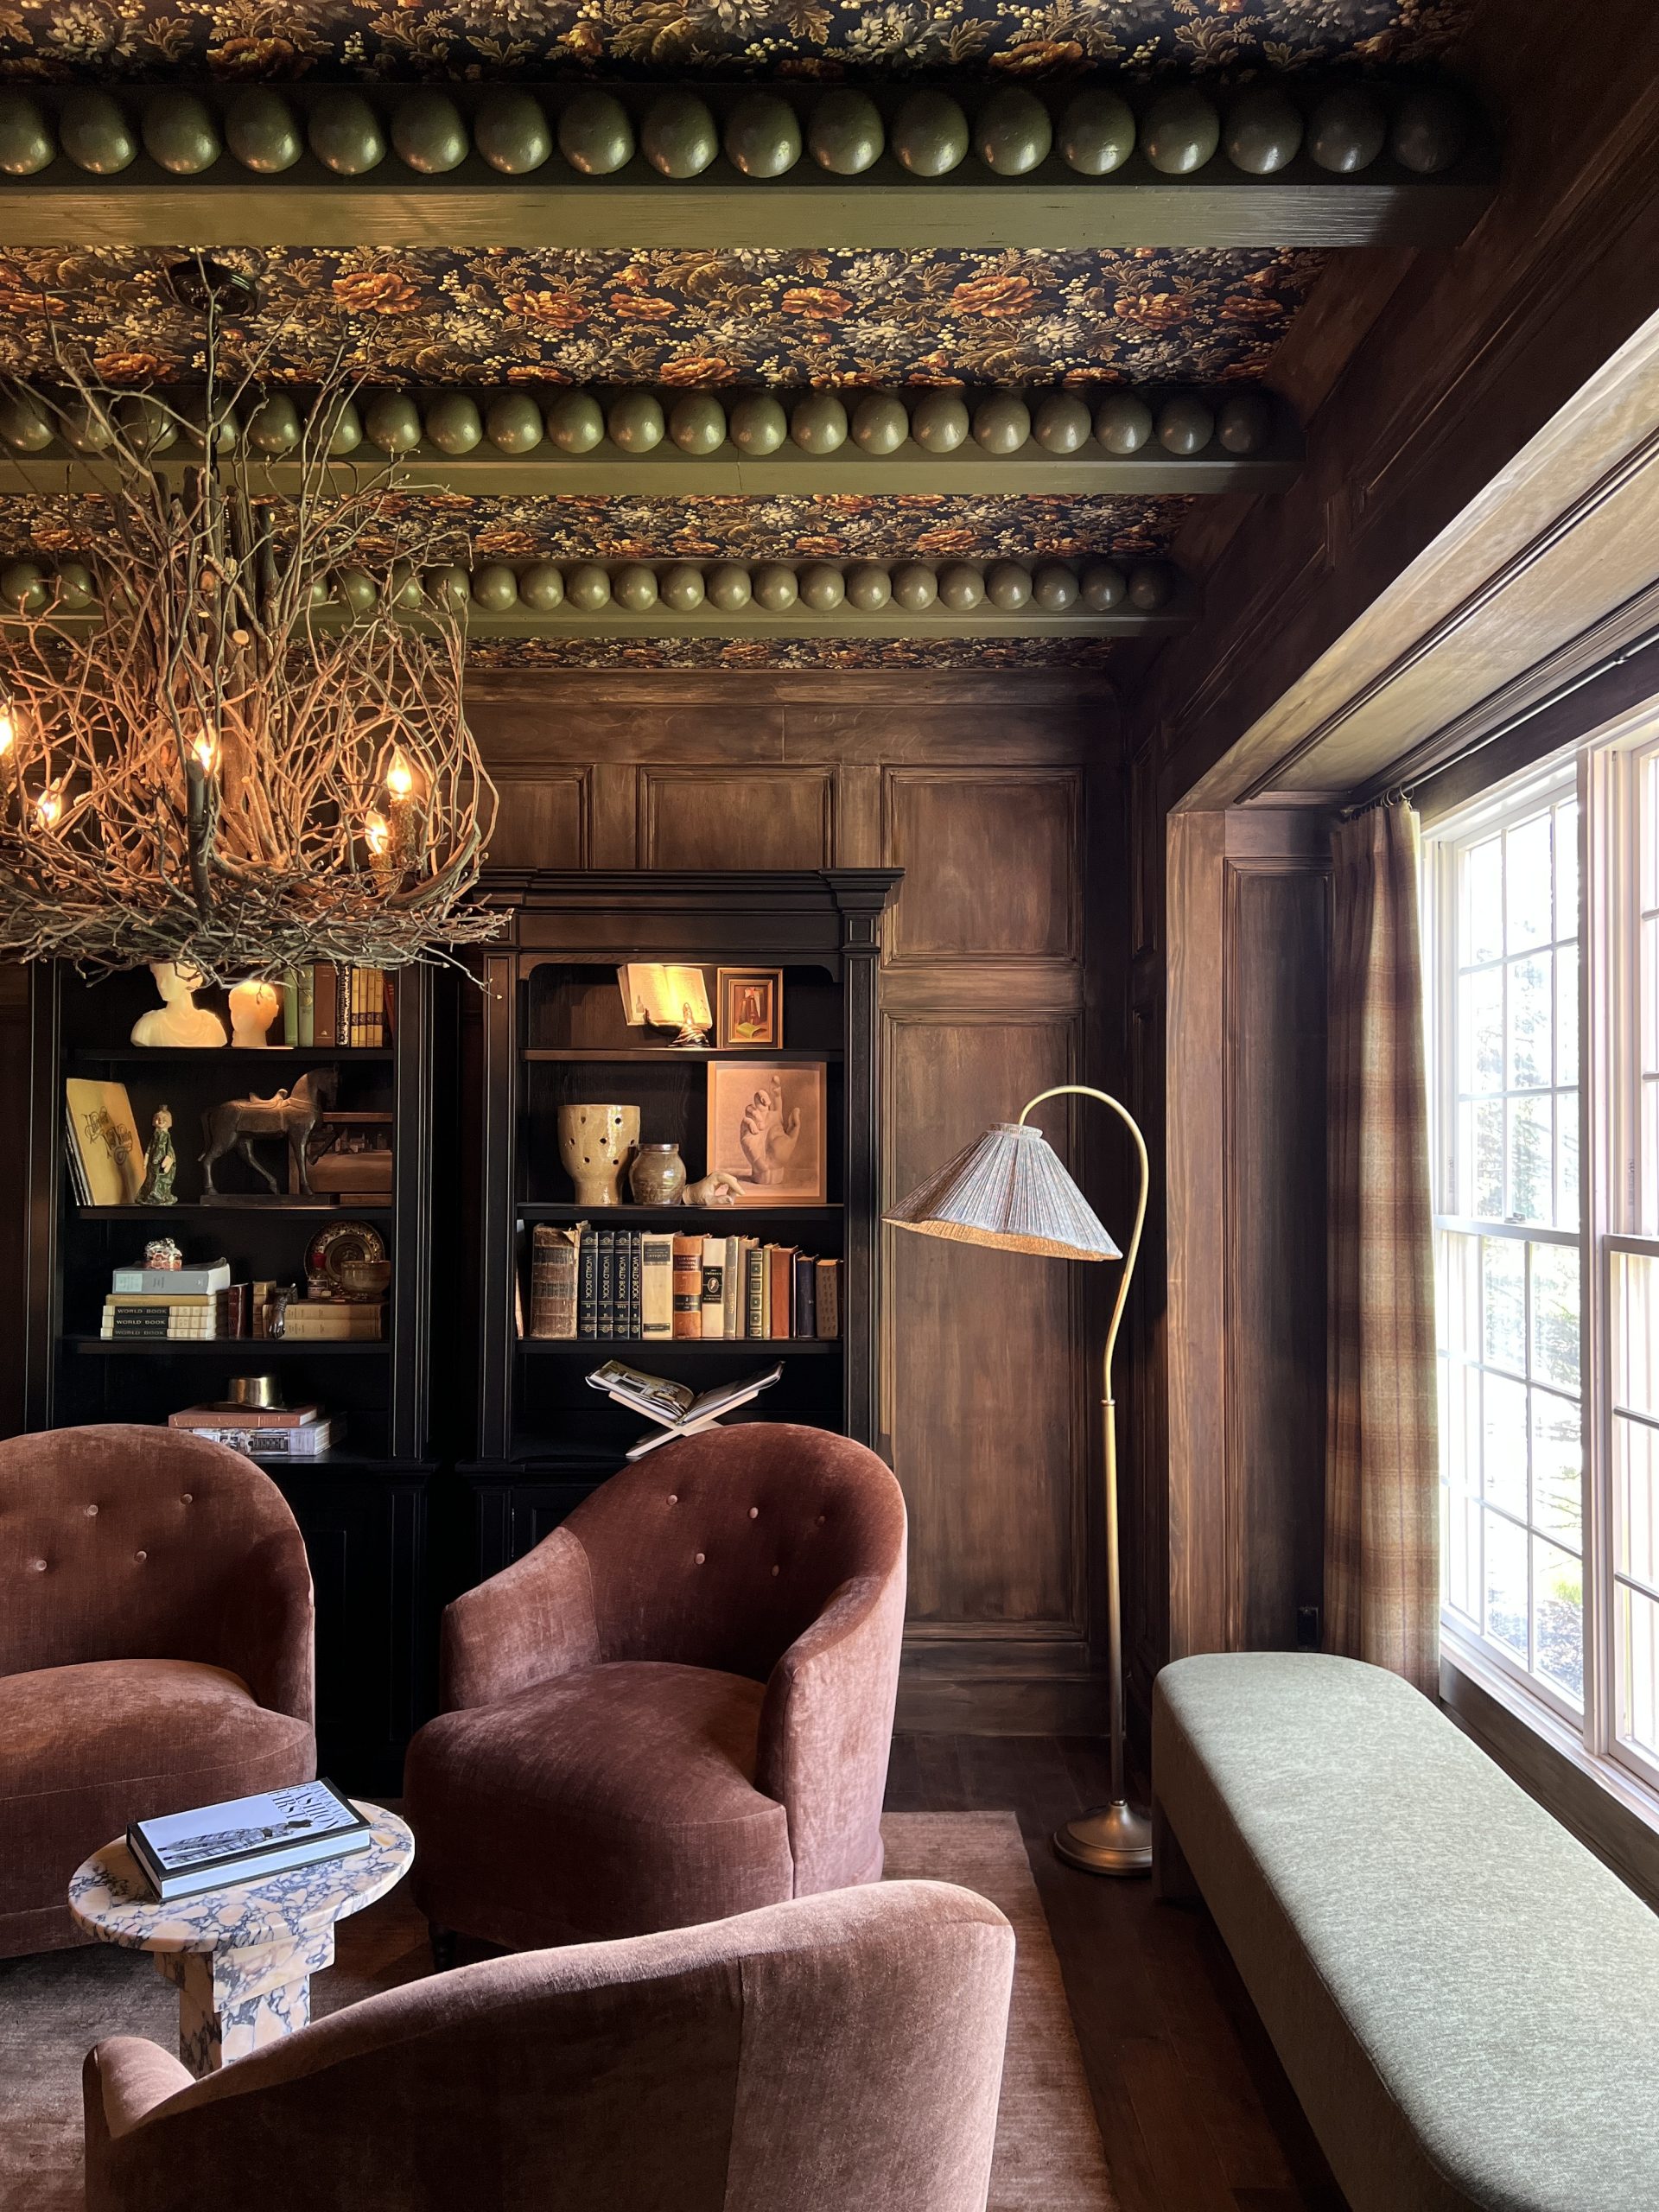
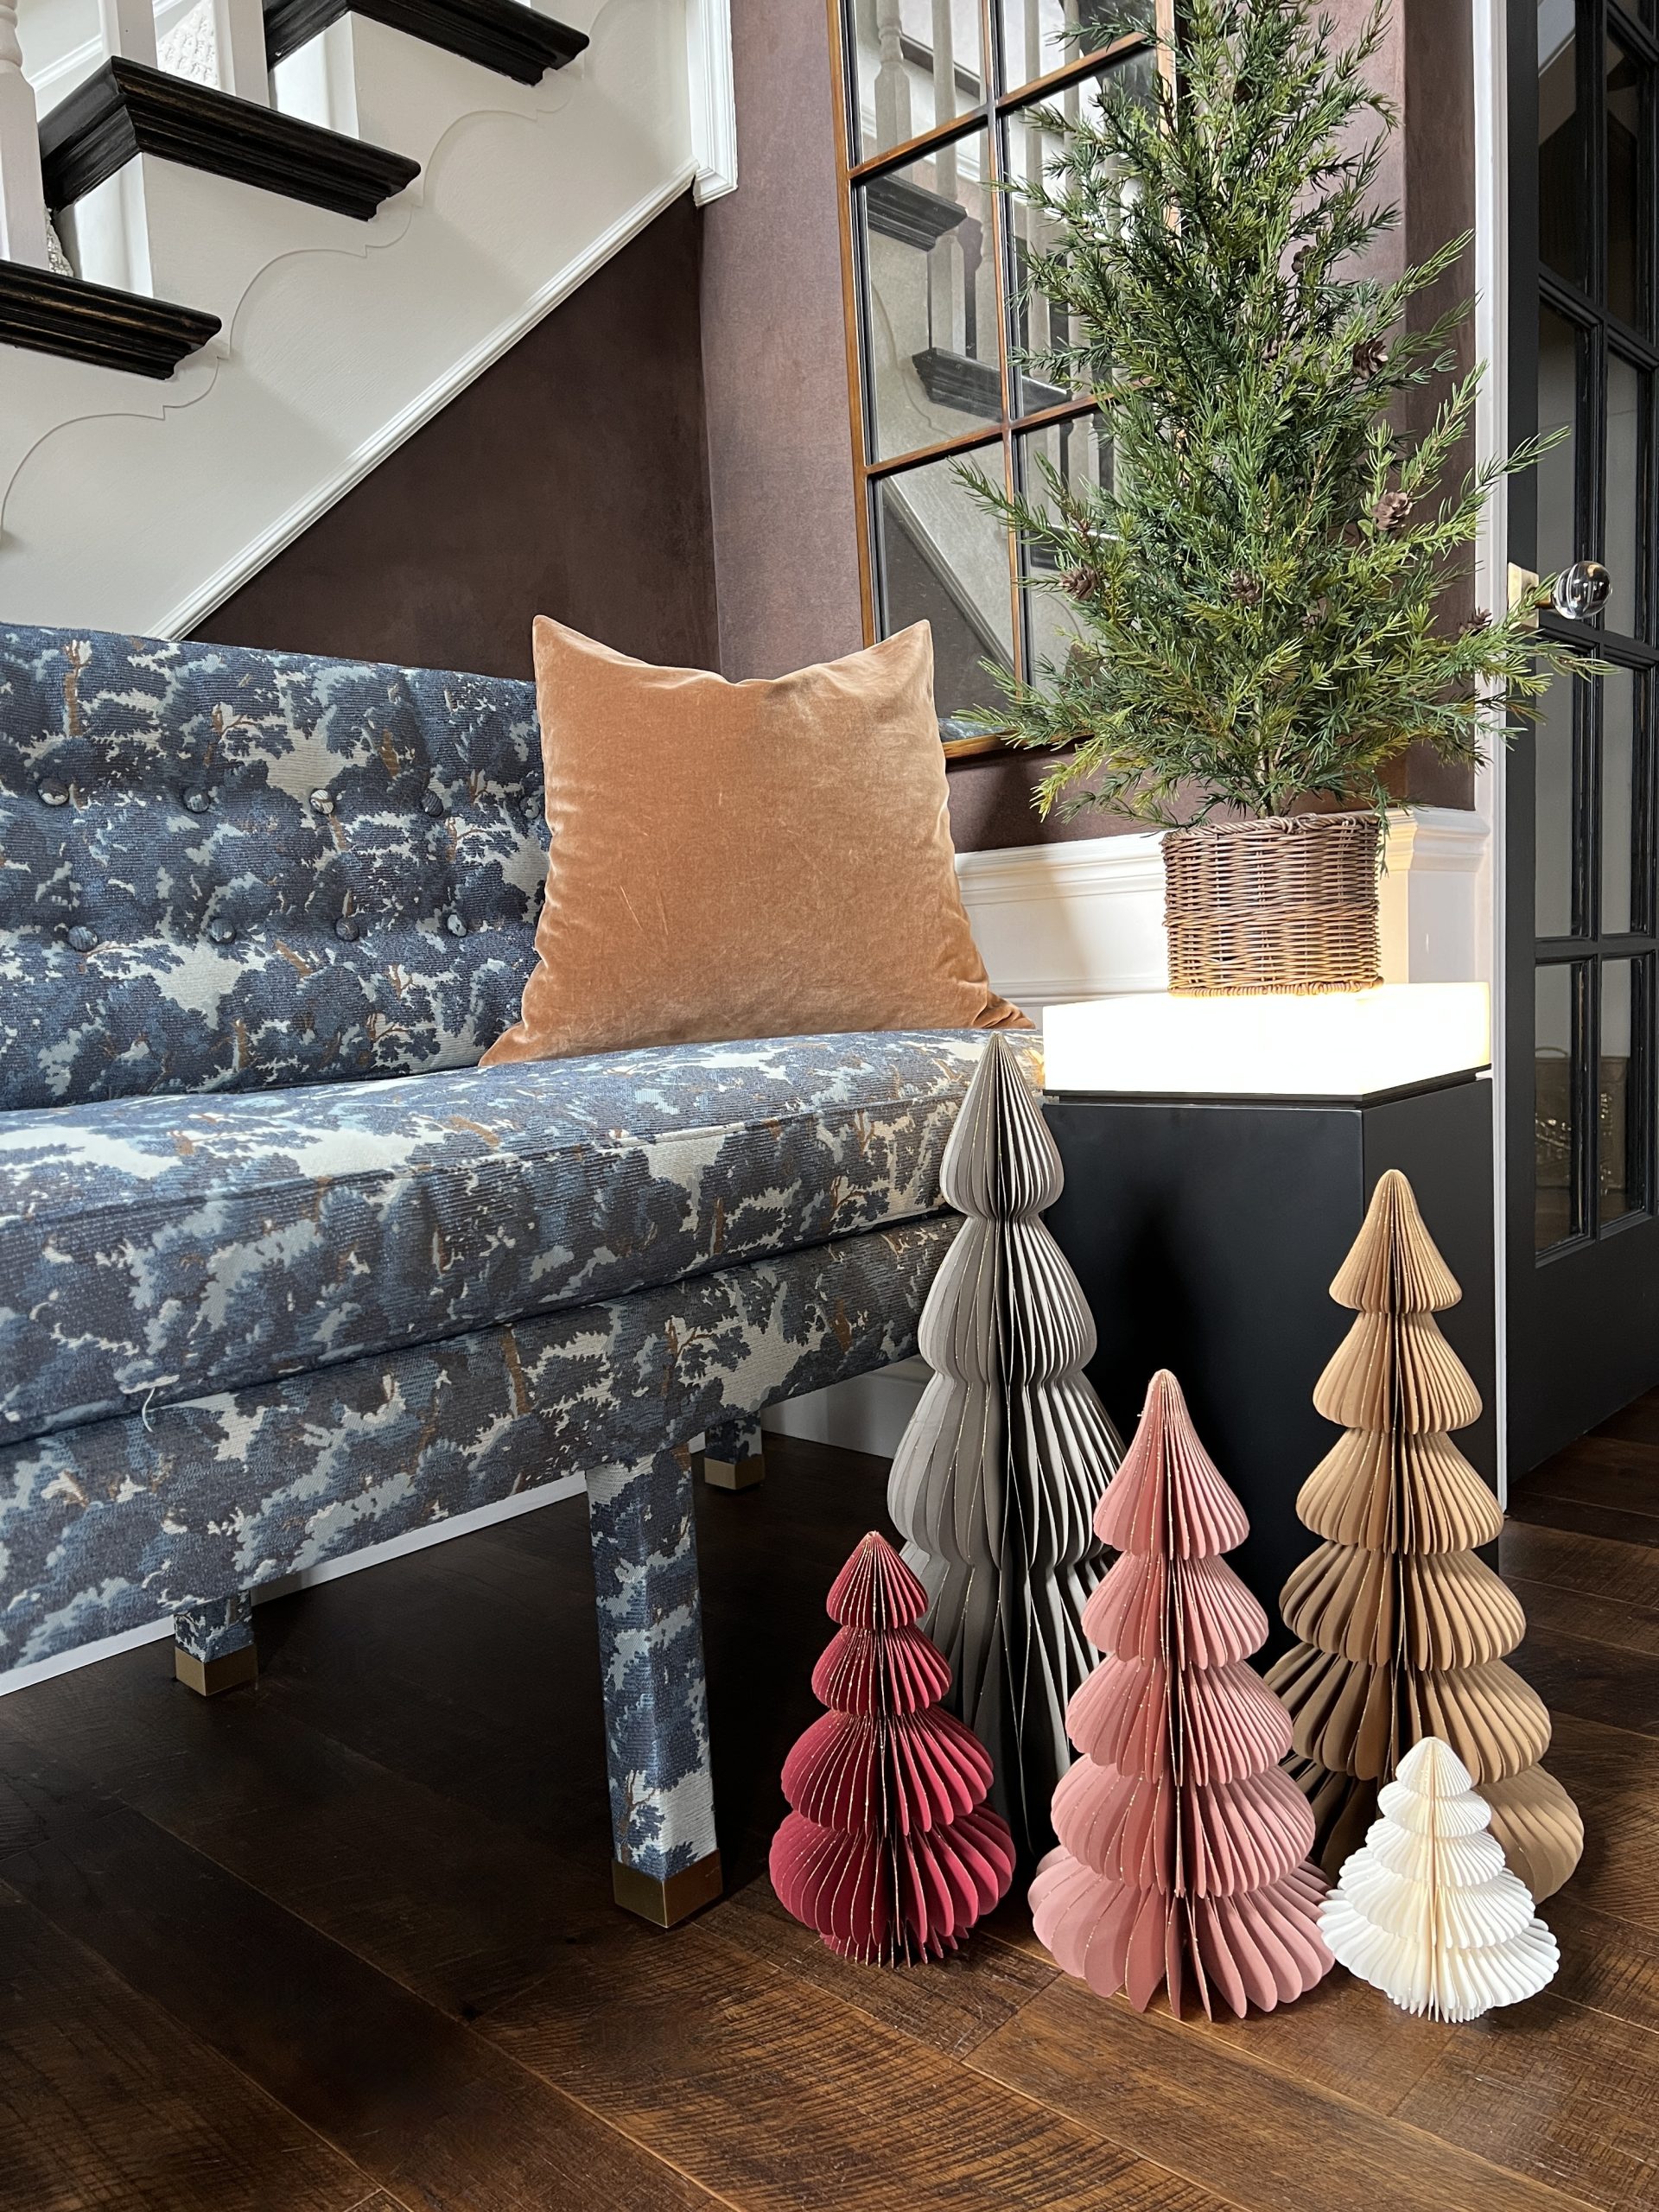
A few other shots around the house…


Shop my family room:


Shop my bedroom:


Shop my living room:
Now, seeing as how this has gotten fairly long, I’m hoping to share my “surprise” project on a different day. (That would be my daughter’s bedroom that we just redecorated as a surprise for her when she was out of town.) Please be sure to check back! For now, visit the blogs of my friends’ linked below who are sharing their own tours! I’m constantly amazed and inspired by their talent! Kelley Nan is next! One of my favorite people ever! She is a master of table scapes and takes THE most gorgeous photos!

Haneen’s Haven // Kelley Nan // Randi Garrett Design // Z Design At Home

Addison’s Wonderland // Citrine Living // Decor Gold Designs

Shop this dress by clicking HERE
Cheers!
Haneen
*affiliate links used in this post